
BLOG: Laser Effects: Movement and Colour
 Falling costs and improvements to the technology used in laser show projectors have enabled the special effect lighting to become far more accessible to users than could have ever been imagined, even just a few years ago. It’s now possible to purchase multi-watt projectors that can be held in one hand, making them very easy to install. As the projector size and cost have shrunk, so too has the need to be so hands-on with the trickery inside the box. More robust scanners and laser sources have started to make laser projectors just like any other consumer electronics item, where it is no longer necessary for the user to have an understanding of how the device fulfils its function. Today’s units are really living up to the plug and play moniker.
This article has been written to help briefly explain some important concepts about a range of common laser effects, and how these have an impact on the exposure their use may create.
It should be said at the outset, this article is not intended to say what is safe and is not safe to direct at people. To determine that, a person needs to have a thorough understanding of how their laser system’s parameters behave, and the consequences these have on any proposed exposure. As a minimum, anyone wanting to consider audience scanning should have a calibrated laser power meter and know how to use it, and be aware of what it can and can’t measure. The projector should also incorporate especially designed safety features such a properly configured PASS and Safety Scan lenses, (these features go far beyond the minimum product safety features specified for CE marking purposes). Getting it wrong can lead to eye-damaging exposure levels in a fraction of a second.
The seasoned laser operator will likely be aware of many of the points about to be mentioned, but with lasers now affordable enough and hands-off enough for anyone with an interest to acquire and use, I thought it would be worthwhile to give a brief overview of how different effects create varying exposure conditions.
So, back to the effects overview, the two little mirrors that appear to mounted on motors behind the glass output window of the projector, (never look into this, unless you are certain the power is off and the laser disabled), are used to move the laser beam so that it follows a beam path. The mirrors are arranged at 90 degrees to each other, enabling the beam to be moved in the x and y axis simultaneously. When the beam moves fast enough, the appearance begins to trick the eye, as it starts to trace out a seemingly solid path of light. For instance, if the beam repeatedly traces the outline of a circle, the projected effect looks like a solid tunnel. This tracing of beam paths is basis of all scanning laser effects. But there is a little more to it than just a simple movement of the beam. To achieve different looking effects, how fast and how far the scanners move in a given time also affects how the laser effect looks.
So let’s look at some of the popular effects used in shows:
Static Beam
A beam that is stationary, creates a high-risk exposure situation, with all the energy present during the time it remains directed to a single point. This type of effect should never be directed at people; even if used in fast moving chase sequences, which cause the beam to be momentarily stationary and still remain a hazard. These single beam effects, which can look very dramatic, should always be reserved for overhead effects.
Finger Beam Fan
This type of effect is created the mirrors moving the laser very quickly then stopping at regular intervals along the beam path. Where the beam moves quickly, the light is not visible. But where it stops very briefly, it creates a clearly visible beam. These effects should normally again be reserved for overhead looks, because for the brief moment that the beam becomes stationary is often long enough for the exposure limit to be exceeded. Typically this type of effect creates stationary beams to make the ‘fingers’ that stay still for approximately 1ms.
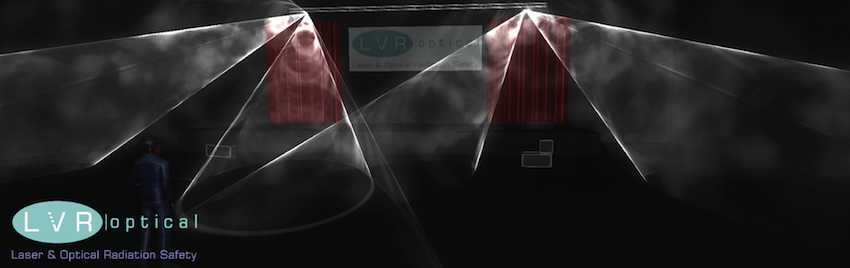
Spikey Tunnel
A variation of finger beam fan effect is the Spikey Tunnel, which looks dramatic, standing out from other traditional light effects. The fingers in this type of effect occur around the shape of the path being scanned, with circle creating cone of finger beams. The time needed to create the fingers is still in the order of 1ms, which in laser exposure terms is quite a long exposure.
Flat Scan
A classic laser effect created by moving the beam along a straight plane in quick succession. Depending upon how the effect has been designed the path of the laser may be traced either, back and forth repeatedly, or it may retrace the path after returning to the start of the scan with a blanked fly-back line. This type of effect, if well designed does not normally have any stationary points in it, with the change of direction at the end of the plane occurring with the beam in blanked mode. The time it takes for the moving beam to cross any eye is typically in the order of 50us-200us depending upon several factors.
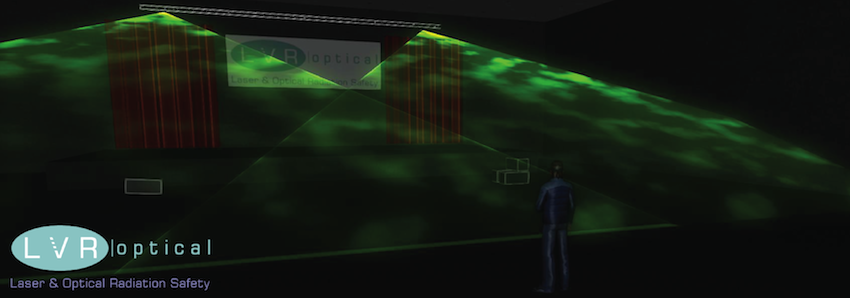
Solid Tunnel
Solid tunnel effects are similar to the flat scan effect, in that they are fast moving, and therefore create shorter exposure times as the beam crosses the eye. These types of effect are more suitable for audience scanning applications, but only with the appropriate assessment; it’s not possible to simply guess that such an effect for a given laser power will be safe to use this way.
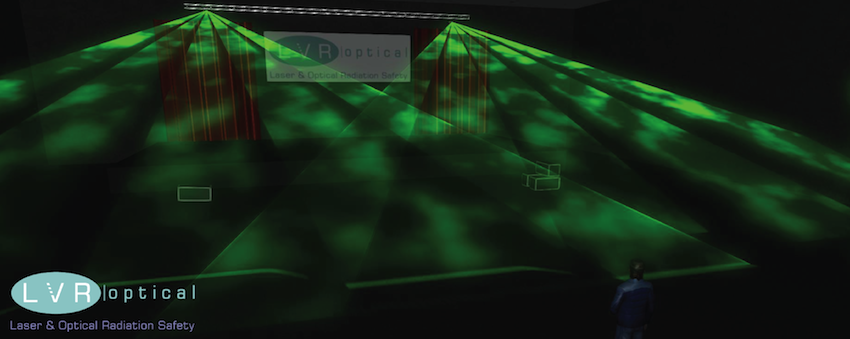
Slats
This type of effect takes the speed of flat scan and tunnel effects and adds additional structure to the effect by introducing blanked areas within the beam path. The combination creates shorter potential exposure on the eye, similar to that of the solid tunnels and flat scans, while retaining a multi-beam look.
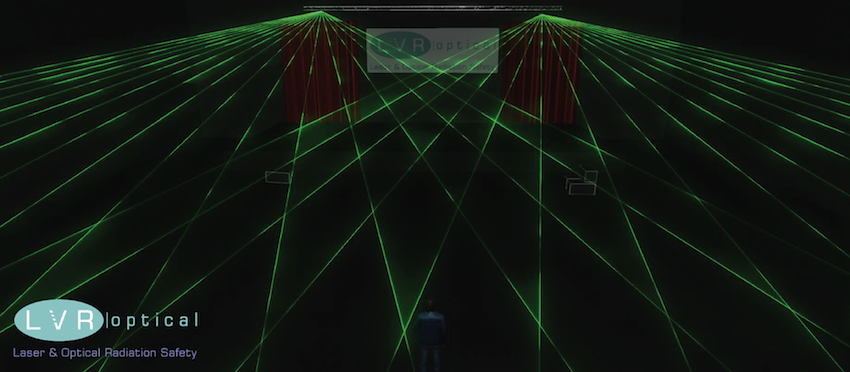
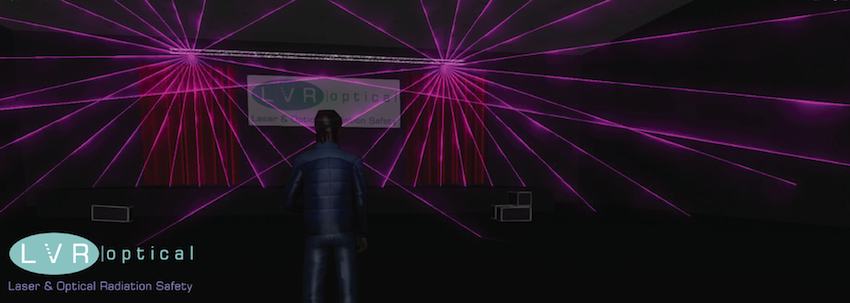
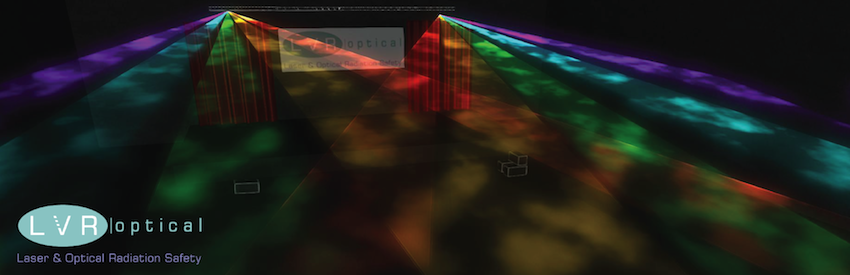
Multicolour Effects
Two laser effects of the same type, having exactly the same scanner movement may create completely different exposure levels. The reason being that certain colours need more laser power to look as bright as colours that the eye is more sensitive to, such as green and yellow. In the example shown here, the blue tunnels will more than likely create exposure levels 3 or 4 times that of the green, which naturally appears brighter. So just because one colour is safe, it does not mean all colours are safe, even on the same effect.
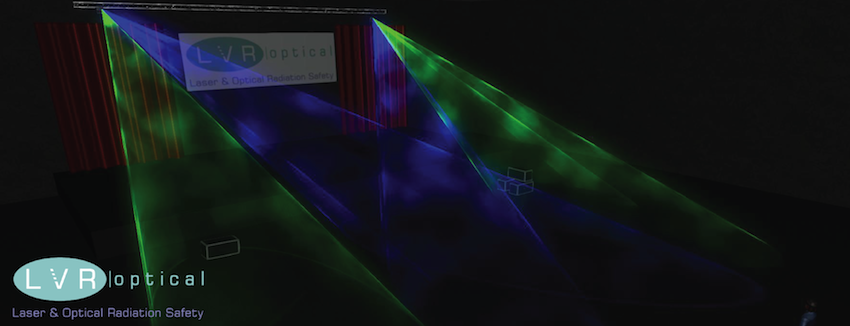
A similar thing happens with the multi-coloured slats of light, which will higher energy contents in the blue, red, and violet beams, over that of the yellow and green beams.
In this article we have briefly shown how different types of effect create their looks by altering the speed, position, and colour of a laser effect. We’ve seen with some obvious and some less obvious examples, how each these properties impact the exposure level if they were to be used for audience scanning. Generally the longer a beam stays in one position, or slower it moves, the more harmful it is.
The pictures used in this article were created with Pangolin’s Beyond software and Reallizzer.
© 2015 LVR Optical